


- LookbookGet inspired by the latest lash looks and dive into the artistry trends that we’re obsessing over.
- TutorialsFreshen up on your fundamental classic and volume techniques with our tutorial editorial.
- Product + SafetyGet the lash lowdown on all things product and safety from our resident lash experts.
- Latest
tutorials
How to Use Eyelash Primer and Pre-Treatment: Prepping Lashes Before Your Sets

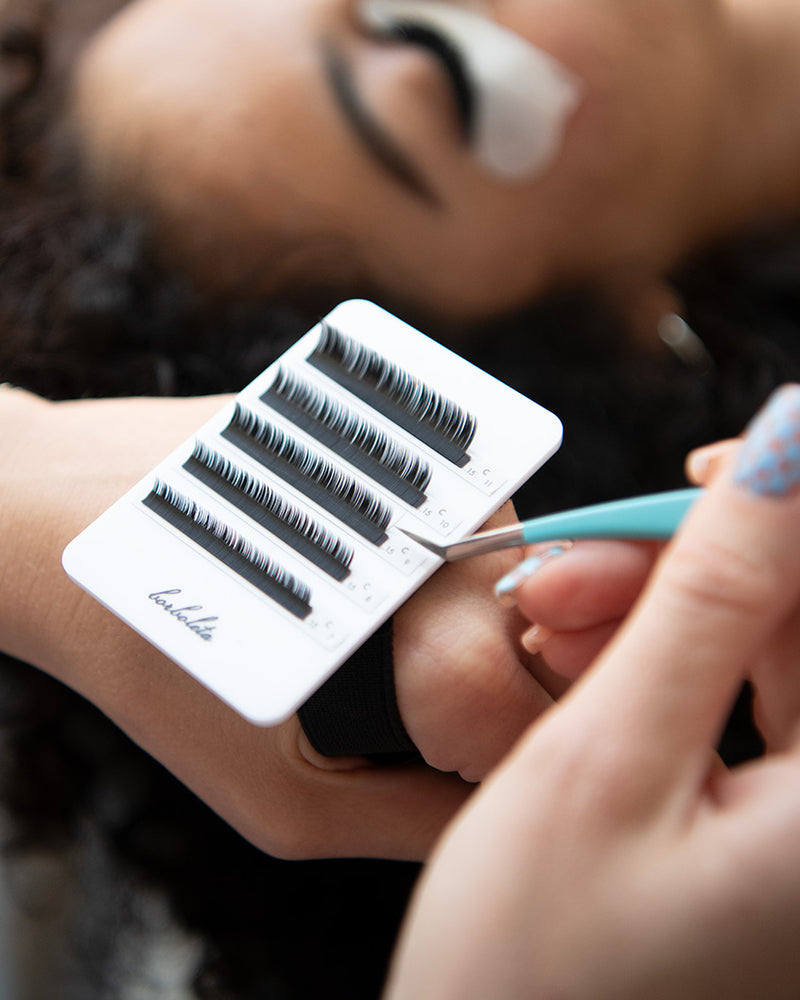
When it comes to creating beautiful, customized lash looks, proper prep work is just as important as the application. As starting every lash service with a lash bath is a must, there are a few products you can add to your prep steps to expect the best retention yet. That’s where an eyelash primer comes in—a must-have in every lash artist’s kit.
Eyelash primer is designed to prep natural lashes, remove any oil or impurities that could weaken the adhesive bond, and balance the PH level of the natural lashes for optimal retention. By using a high-quality primer, lash artists can ensure a stronger bond, better retention, and an overall smoother application.
Why Lash Prep Matters
Lash artists know that the key to flawless retention starts with a clean foundation. Because of the sebaceous glands across the lash line, natural lashes produce oils that can interfere with the adhesive, causing poor attachment and premature shedding.
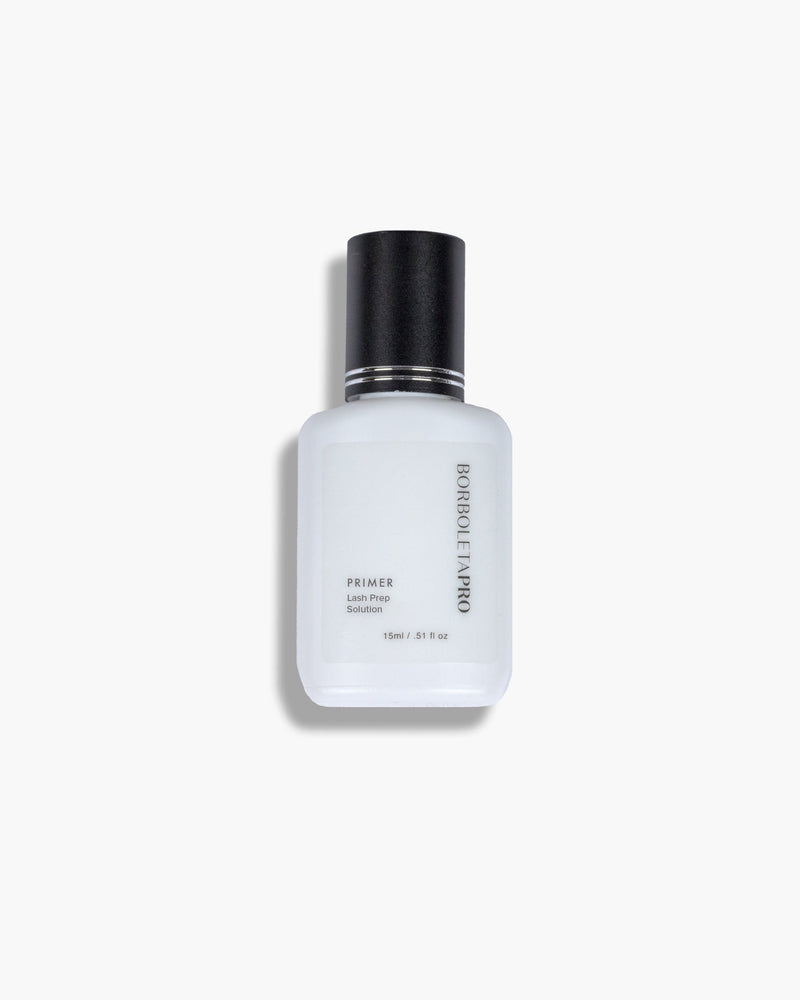
Borboleta supplies two different Lash Prep Products - Primer & Pre-Treatment to help support a strong adhesive attachment. Both products have a water lock formula that helps bond the lashes together so they look their best and last their longest. However, they do have slight differences.
These Prep Products -
-
Help remove oils and buildup – eliminate residue that could weaken the adhesive bond.
-
Enhances adhesive grip – this creates the ideal surface for extensions to attach securely.
-
Improves retention – a stronger bond means fewer premature fallouts and happier clients.
-
Ensure a blank slate every time – lashes are prepped and ready for perfect lash placement.
Primer
-
It’s best for dry climates and/or dry to normal natural lashes

Pre-Treatment
-
It’s best for humid climates and/or oily natural lashes

Application
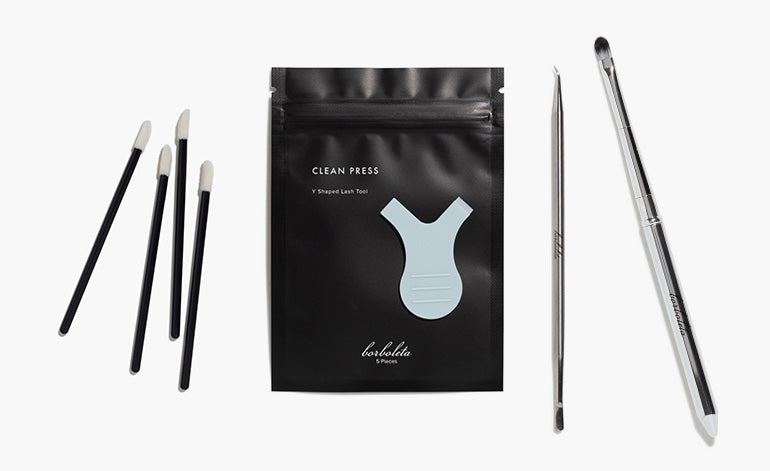
Products needed -
-
Breakdown Oil-Free Makeup Remover
-
Lash Bath
-
Cleanswoop Brush
-
Gel pads
-
Tape
-
2 Microswabs
-
Primer or Pre-Treatment
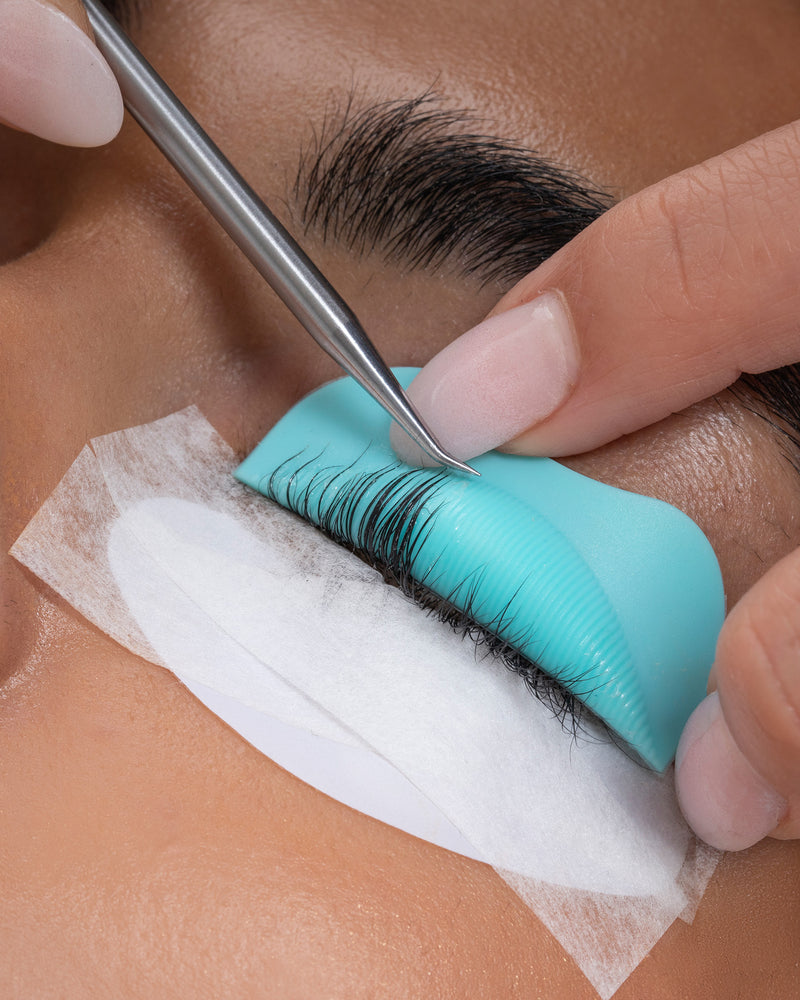
Before applying eyelash extension Primer or Pre-Treatment, break down any makeup with Borboleta's oil-free makeup remover, then cleanse the lashes with Borboleta's Lash Bath. Lock down the bottom lashes using both gel pads and tape. Next, apply a small amount of product onto 2 disposable micro swabs. Sandwich the base of the natural lashes by placing the tip of one microswab brush underneath the lashes and one on top of the lashes. Make sure the lashes are completely dry before applying eyelash extensions.
By incorporating these prep steps into your lash services, you’re setting the stage for a longer-lasting lash set.
Choosing the Right Primer
Not all lash prep products are created equal! When selecting the right prep product, consider these key factors:
-
Check your environment – If you are lasing in a high humidity space, using pre-treatment is best. If lashing in a drying climate, primer will perform best.
-
Adhesive compatibility – Choose a primer that works seamlessly with your preferred lash adhesive to maximize retention.
-
Alcohol based primers – Alcohol-based primers are great for removing excess oils. If your guest has an oily skin type, consider using pre-treament over the primer. If your guest has dryer skin, primer is best for them.
Choosing the right prep product based on the guest's skin type and your lashing environment ensures that you’re protecting your clients’ natural lashes while optimizing your application process.
Step-by-Step Application Guide
Step 1: Remove Eye Makeup and Wash Natural Lashes
-
Before applying primer, make sure each guest's lashes are clean and completely free of makeup and skin care. Use an oil-free makeup remover to remove any makeup following a lash bath to nourish the natural lashes.
Step 2: Lock Down Bottom Lashes
-
Lock down the bottom lashes using both gel pads and tape to avoid any stickies during the service.
Step 3: Use Primer or Pre-Treatment
-
Use two microswabs or lint-free applicators to apply a small amount of primer or pre-treament to the natural lashes.
-
Gently sandwich the tips or the applicators around the natural lashes, focusing on the base of the natural lashes—avoiding direct contact with the skin or waterline.
-
A little goes a long way! Overuse of primer can lead to over-dehydration, which may weaken the adhesive bond.
Step 4: Allow for Proper Dry Time
-
Let the primer or pre-treatment fully dry before applying the lash extensions. This typically takes a few seconds, but always check to ensure there’s no excess product left on the lashes.
-
Expand your kit with a handheld battery-operated fan to quicken this process.
You are now ready to begin lashing!
Tips and Best Practices for Using Eyelash Prep Products
Do -
-
Dispense the product on the tips of 2 microswabs
-
Use a minimal amount— Too much product can affect adhesive performance.
-
Apply primer only to the base of the lashes, avoiding skin and eye contact.
Do NOT -
-
Use primer or pre-treatment to remove make-up— This can over dehydrate the natural lash and affect how the adhesive bonds to the natural lash.
-
Skip the cleansing step— Primer or pre-treatment works best on already clean lashes.
-
Lash wet lashes— Use a handheld fan to dry the lashes before application. Lashing on wet lashes can cause over polymerization and shock the adhesive.
Shop Borboleta’s Primer and Pre-Treatment today and start prepping your clients for long-lasting retention they’ll fall in love with.

